*** Updated 06/12/2020 with pictures of the windshield brow, scroll down for those pics.
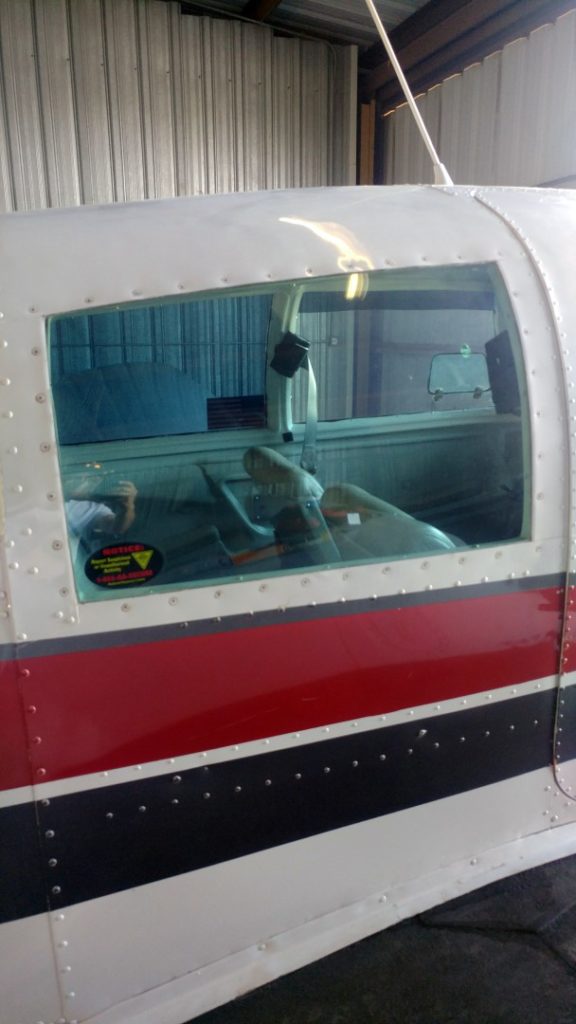
Here we are in the middle of the “Dog Days of Summer” which makes for some high temps inside the cabin. I made a post a little while back about building a home-made AC Unit which helps tremendously. Another thing that I did was to put static cling tint on the windows. I recently replaced the tint on one of the rear windows because a “very cute niece” that I gave a ride around the pattern to had scratched it up with her fingernail. Fortunately it is very inexpensive (I still had leftover tint from before) and easy to do. I decided to take some photos along the way to show everyone how easy it is to tint your windows.
- Clean the windows really well inside and outside. When you put the tint on the outside to outline it, you don’t want to scratch the window, and when you put it on the inside you don’t want stuff between it and the window.
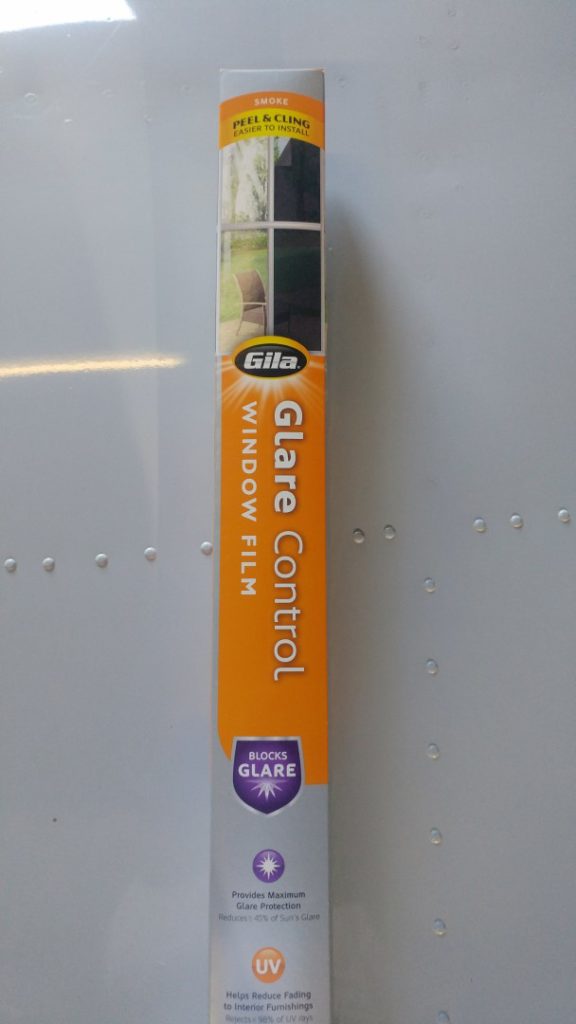
2. I just used the GILA Smoke tint from Lowes. It was $12.97 and enough to do the windows more than once if you mess up. Some people have used darker tint but I like flying at night too so I didn’t want it to be too dark. Whatever you decide to get make sure you get the Static Cling film, not the adhesive.
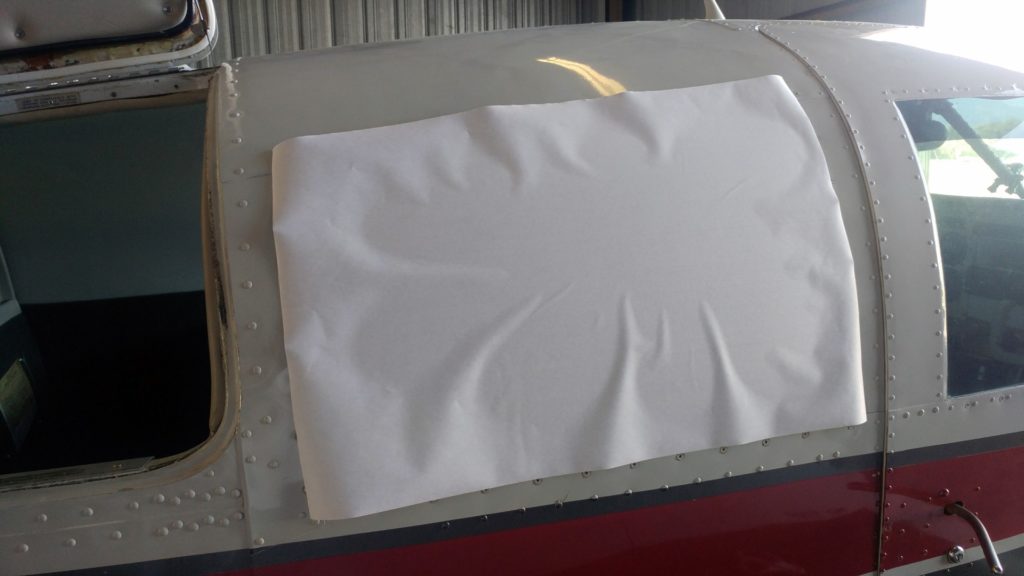
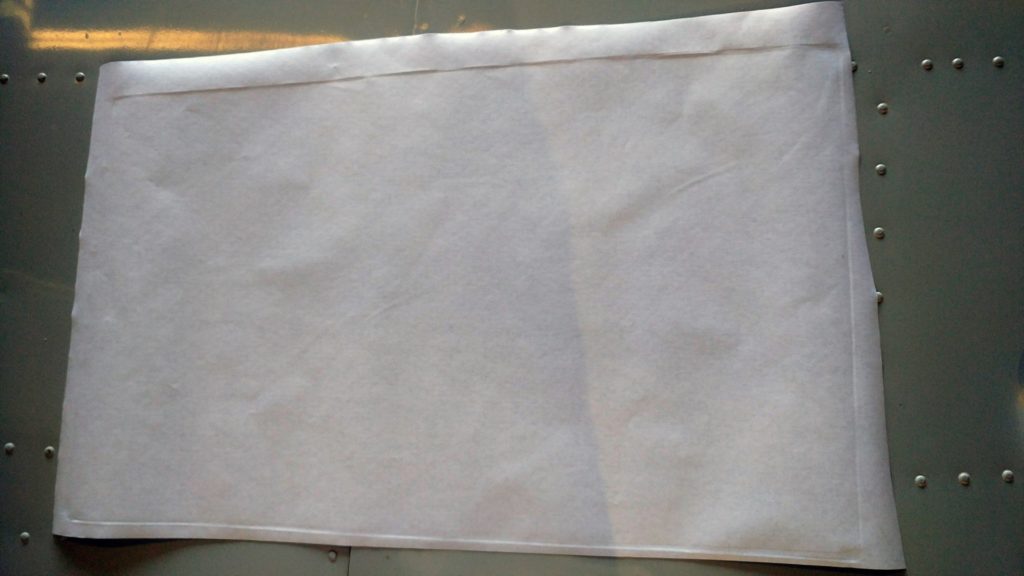
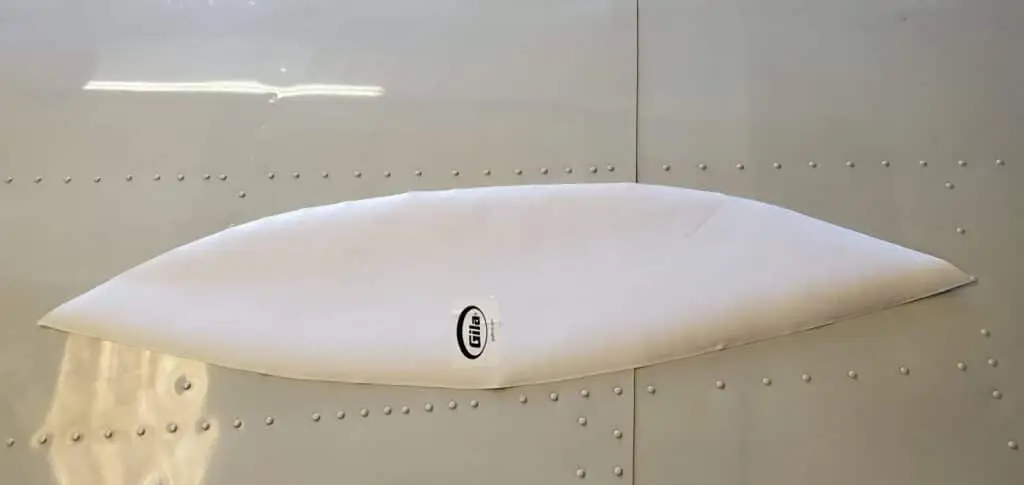
3. Cut out a piece a little larger than the window and place it on the window with the white paper out. This is the direction that it will go on the window inside so everything is going to line up. The tint will stick to the window a little which makes it easy to trace.
4. Use your thumbnail to trace the outline of the window. This will leave a mark in the paper that is easy to cut along.
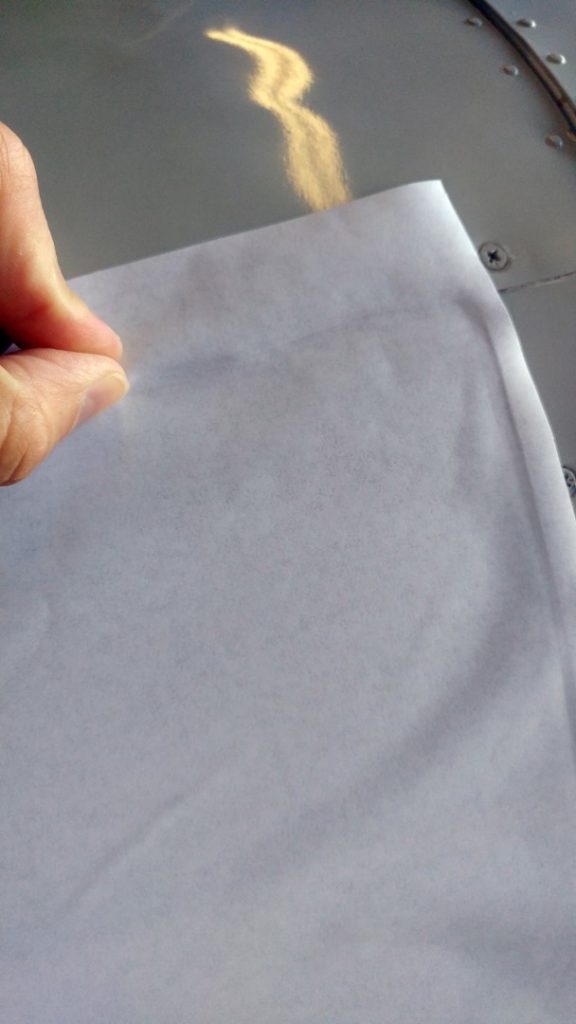
5. Take it off and use scissors to cut along the marks that you made. You can see that by just using your thumbnail it leaves a good outline.
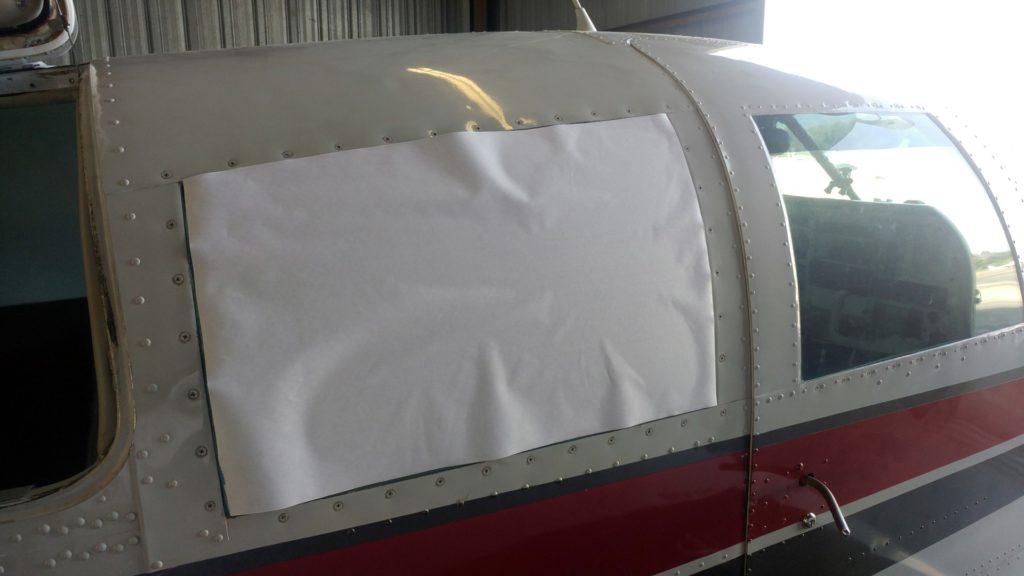
6. Put the tint back on the outside and trim any areas where it may be a little too big.
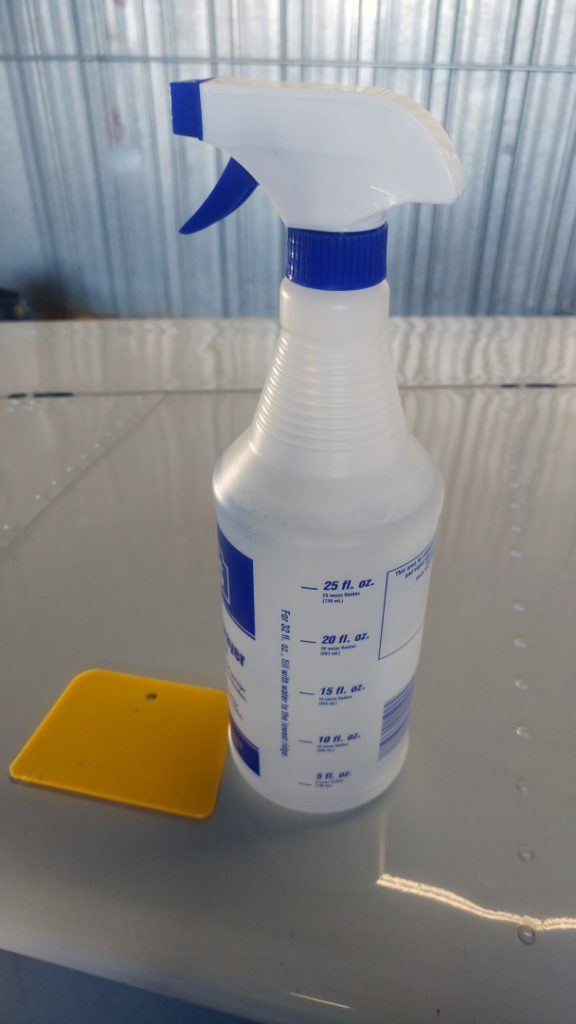
7. Have a spray bottle with water and just a couple drops of dish soap in it. If you just use water the tint won’t slide around and it will be more difficult to line up, the couple drops of dish soap makes it slide into position easier. You can buy the actual window film installation kit for $9.00 if you want to or go the cheaper route like I did. I also had a plastic squeegee/applicator from something laying around that I used. You have a lot of options there, including your drivers license, a rubber squeegee from putting a screen protector on you phone/tablet, etc… Just make sure what you are using won’t scratch the tint.
8. After one last time checking that tint fits on the inside, lightly spray the window, peel the tint off the paper, and put it on. Before you start smoothing it out slide it around to get it in position. If you need to you can pull it away from the window in places and spray just a little more water there to get it to slide around better to get it lined up.
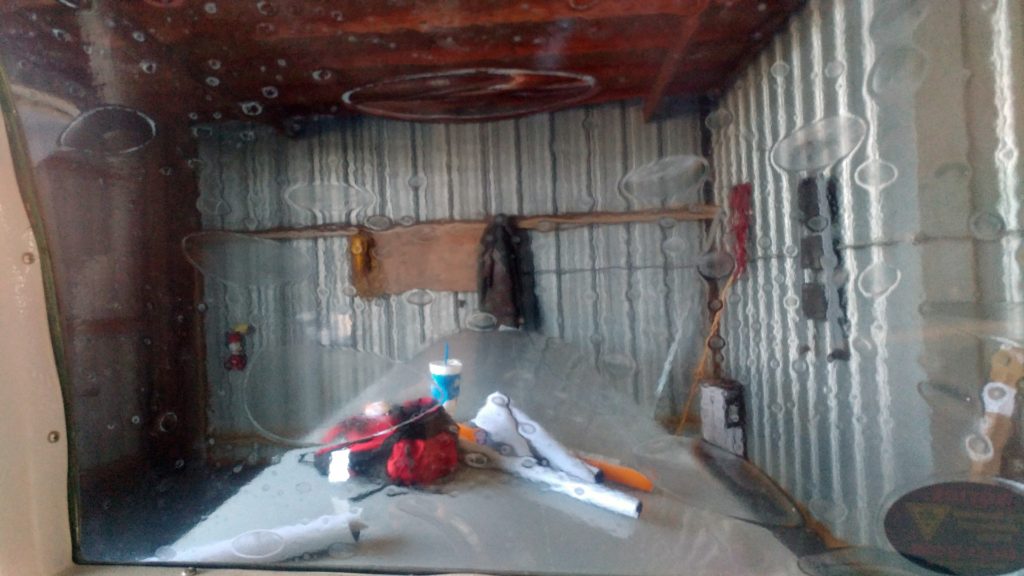
9. Once you have it in place start smoothing it out. I like to push the water up and to the sides more than down. (At the bottom edge you do have to push it down). By pushing it up and to the sides if you have a cloth handy you can soak up the water instead of having it run down inside the panel. Just keep working on it to get as much of the water out as you can. It will be a little hazy but it will clear up.
10. If you need to remove the tint you can just get a corner and pull it right off. It comes off easily and won’t leave any residue or anything behind.
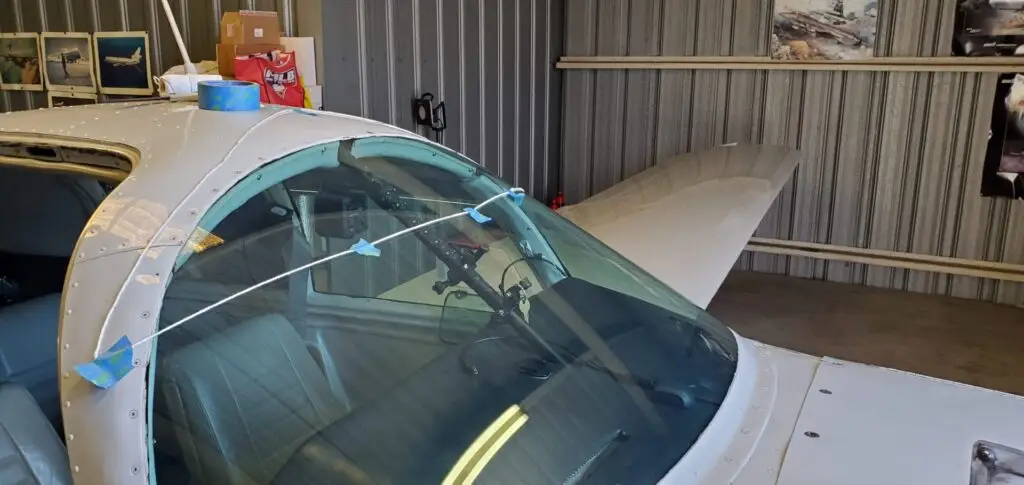
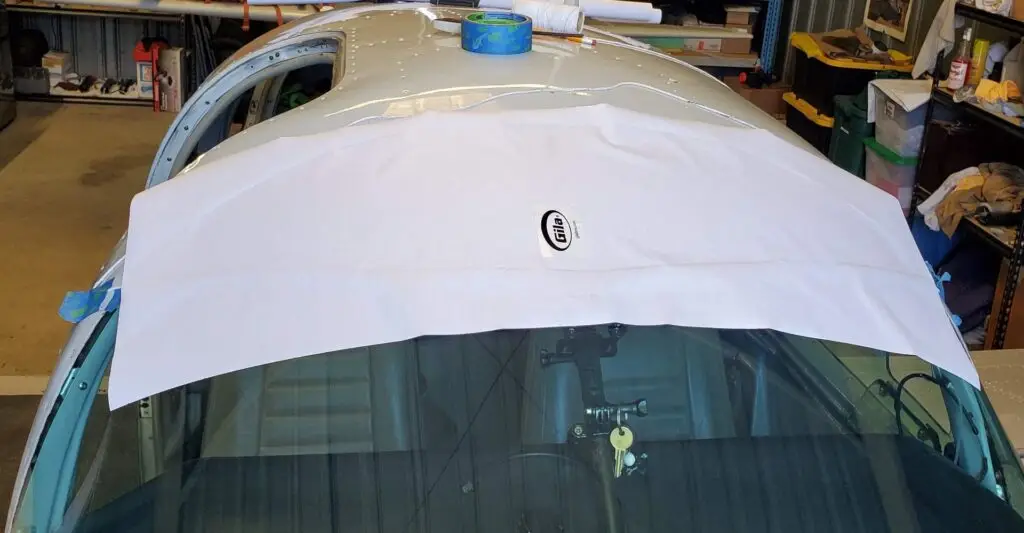
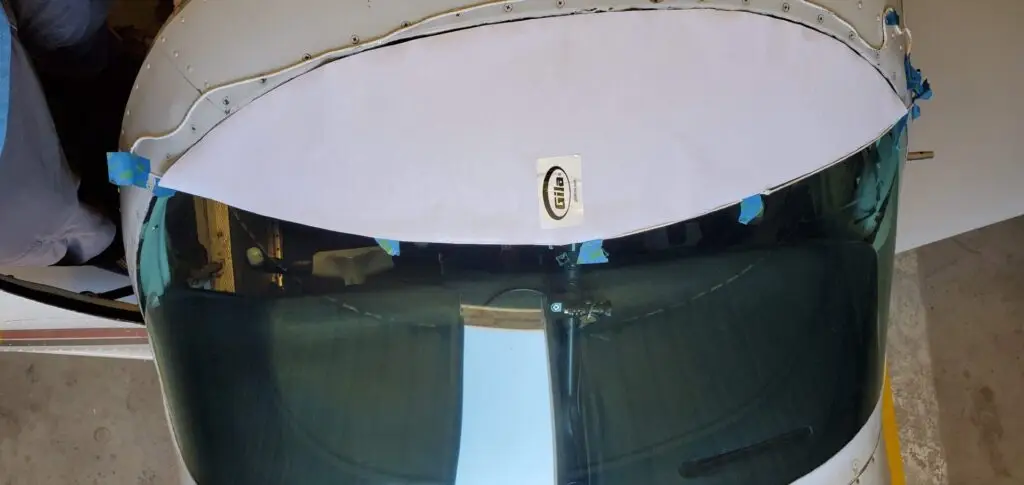
***Update – Here are pictures of how I laid out the brow for the wind screen. It is not just a straight across cut, it is more parabolic shaped. The easiest way is to get some twine and blue painters tape, put it across, get in and sit down to see where it will come down to, and just keep adjusting until you get it where you want. Note that while the side windows are easy, getting the tint on the curved, sloping windscreen is a little more difficult.


The tint stays on very well. We also have some of the little screen type sunshades that go on with suction cups in the plane. You can put those right on the tint and taking them off doesn’t pull the tint away from the window.
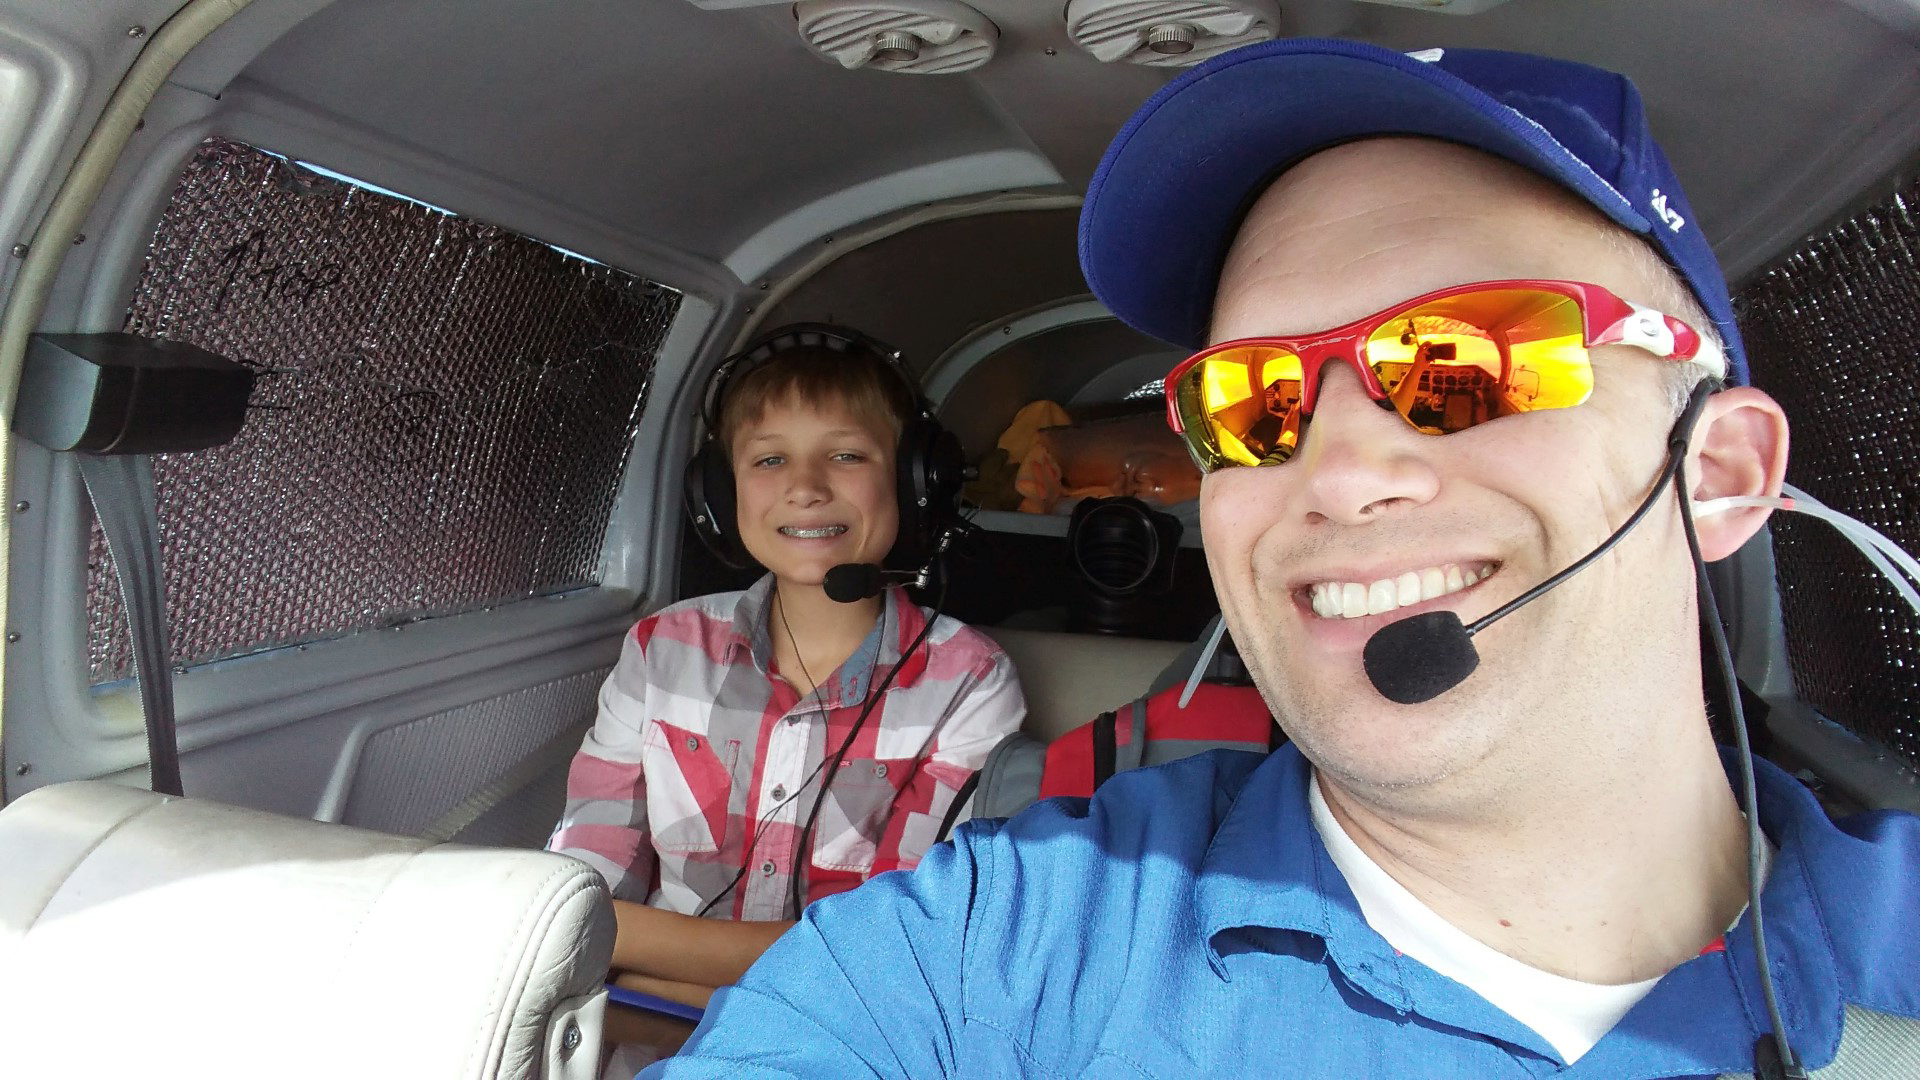
As a bonus, if you want to make some shades for the inside when you have the plane parked you can buy some of this Reflectix bubble wrap insulation for $24.00. The small roll is way more than enough. Cut out pieces to fit the windows. It will actually stick to the tint and stay in place very easily. (I put a few tabs along the edge with tape to make it easier to remove them, don’t worry, it won’t pull the tint off. We have even left it in the back windows on some trips much like some old planes had curtains and it stayed much cooler.
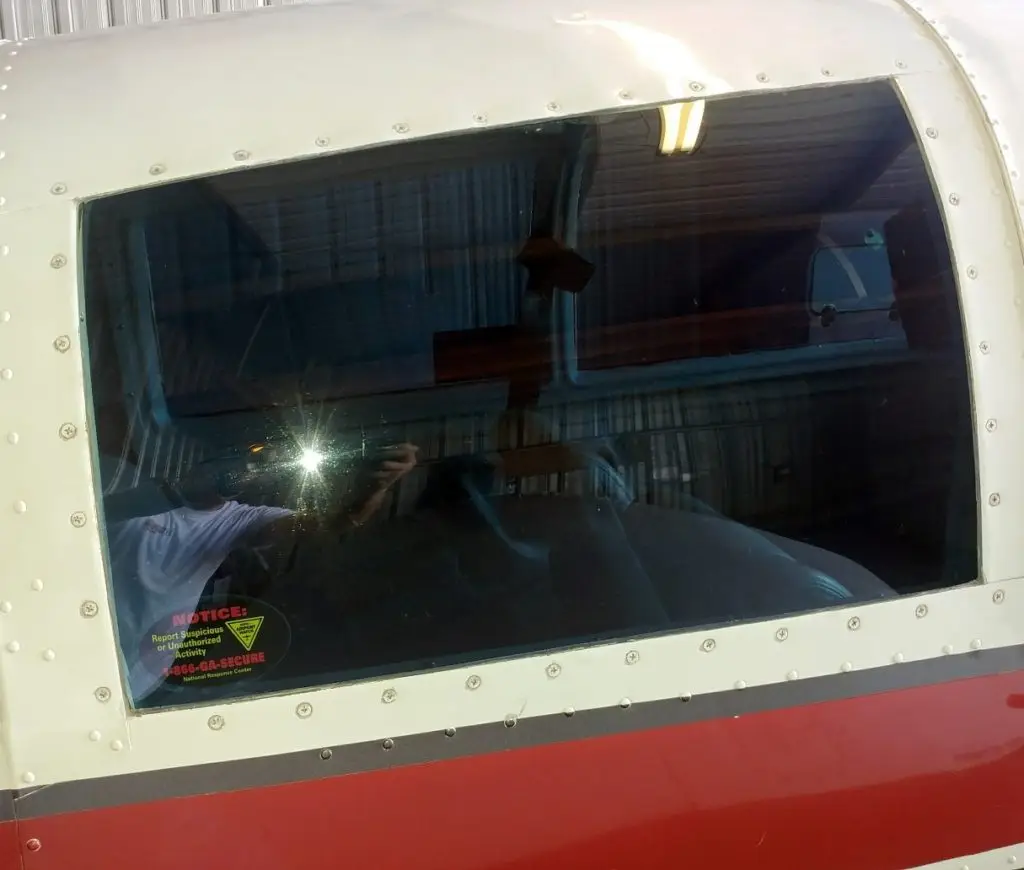
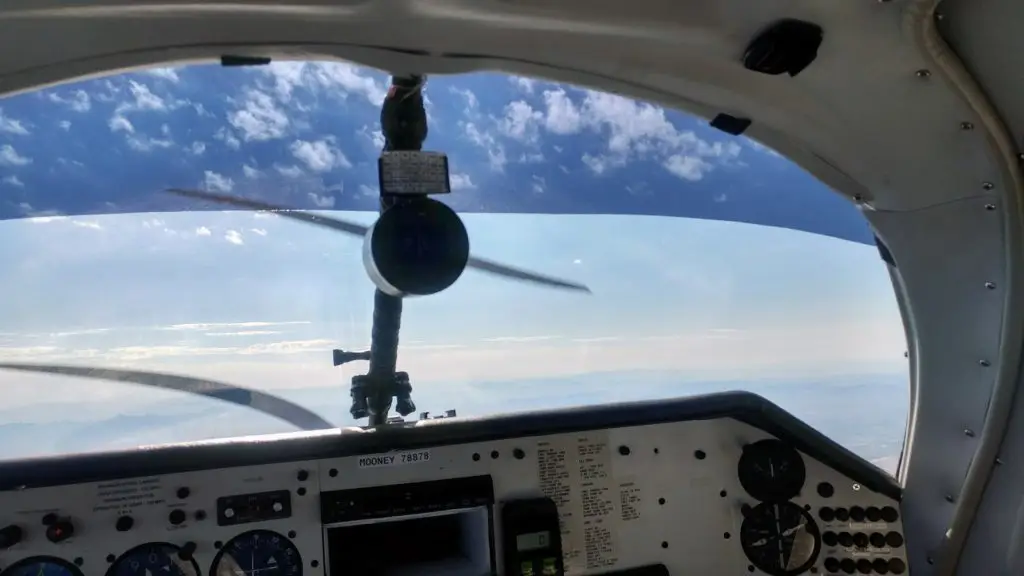
I had put tint on the front windows this time but decided to take it off. While I could see out, even at night, it made things a little hazy, which I didn’t like. I went back to having just a strip across the top of the window to help with the sun coming in which doesn’t affect my view. I also have a strip along the top of the windshield because I don’t have any sunscreens. The windshield one is an elliptical shape. I put a piece of blue painter’s tape on each side and one in the middle so I had a straight line across, then laid the tint on and used a piece of string to get the shape.


One more tip, from some of the leftover scraps cut out a few smaller rectangles, fold them up, and put them in a seat back. When the sun is beating down on you through the side window you can pull one out and just stick it wherever you want. It really cuts down on the heat. Move it around as you continue through your flight and the sun shifts coming in through the window.