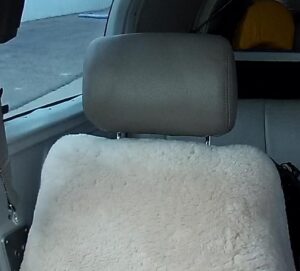
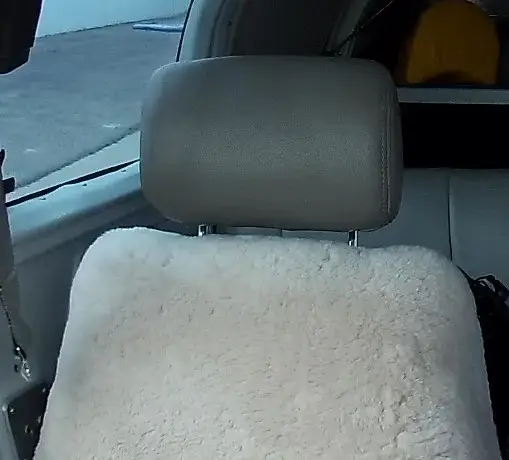
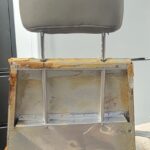
I don’t know what year they started putting headrests in Mooneys, but it was well after my 1965 was built. There isn’t much risk of getting rear-ended so the threat of whiplash from the lack of a headrest is minimal. However, the comfort of my wife who often is dozing off before we get to cruise altitude would be greatly enhanced by the presence of a headrest.
I had read that all the seats were built with the tubes for headrests, you just needed to buy a set with the posts 6” on center. With that sage advice from the internet (sarcasm) I bought a set of headrests off a Toyota 4-Runner that looked like a close color match.
“This will be easy,” I naively thought. I’ll pull the panel off the back of the seat to find the tubes. Cut a couple little holes in the top of the seat cover and slide the headrests in place. When I pulled the back off the seat there were no tubes for headrests. If indeed all the seats were built with them, that started sometime after 1965.
For the next 2 ½ years they sat on a shelf in the hangar gathering dust. On a recent flight as my wife was leaning on a pillow against the side of the plane dozing off and on, she said, “It would really be nice to have headrests before we fly to Oshkosh.”
With that suggestion I did some more internet research on how people added headrest to their Mooneys. All the ones I saw involved welding pieces to the seat, but I didn’t want my project to involve welding. However, it did give me some ideas, and after removing the back off the seat again to examine the structure I came up with a fairly simple solution.
Supplies needed:
- Two headrests, posts 6” on center – I used a micrometer and measured the outside diameter of the tubes at 0.40” which was the reasoning for the aluminum tubes with a 0.43” inside diameter.
- Aluminum Square Tube 6063: ¾” x ¾” outside and 36” overall length
- Seamless 3003 Aluminum ½” Outside Dia, 0.43” Inside Dia, 3ft overall length (x2)
- 3/8” Neoprene Grommets (x4)
- #8 x 5/8” sheet metal screws (x8)
- Remove the seat cover from the seat back. (Prepare yourself for the sight of some old cushions… this led to the replacement of said cushions which I’ll write about next month)
- The top of my seats are 12” wide, so I found the center, marked 3” to each side of center, and then drilled them out to ½”. I did step it up starting with a 3/8” bit and progressing to the ½” bit. It is very thin aluminum and stepping up helped.
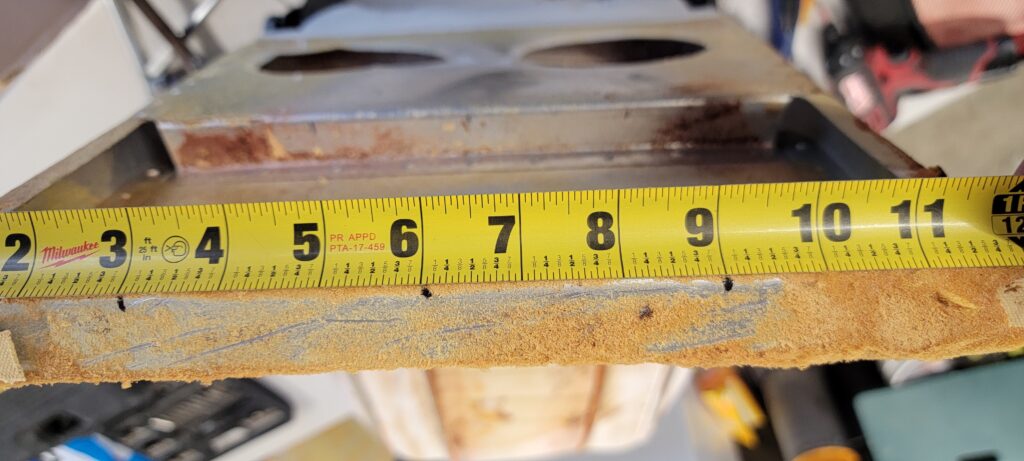
- The lower panel is also 12” wide if you are measuring from the horizontal panel, not from the outside edge of the seat. Again, I marked the center and 3” to each side of the center. I also used a punch to dimple it as I couldn’t get a bit vertical, and it wanted to walk up the panel. I drilled it out to ½”, again stepping it up slowly with increasingly larger bits.
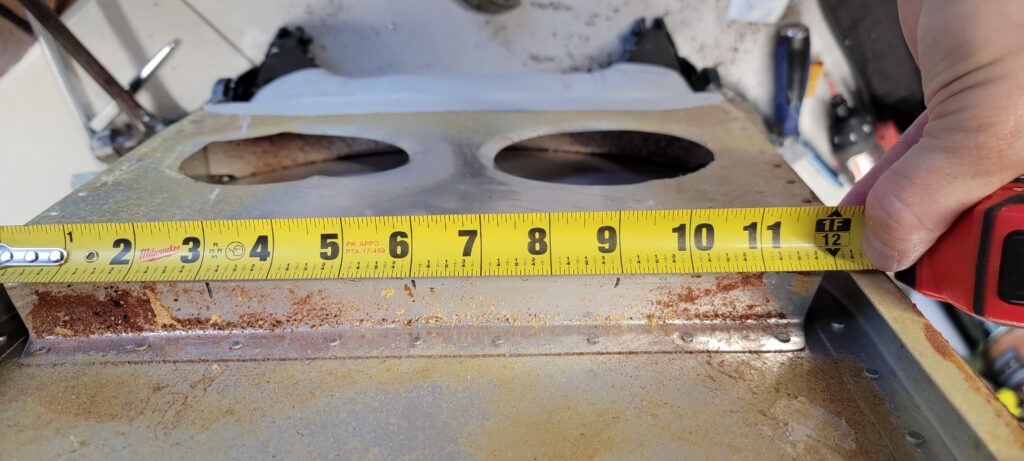
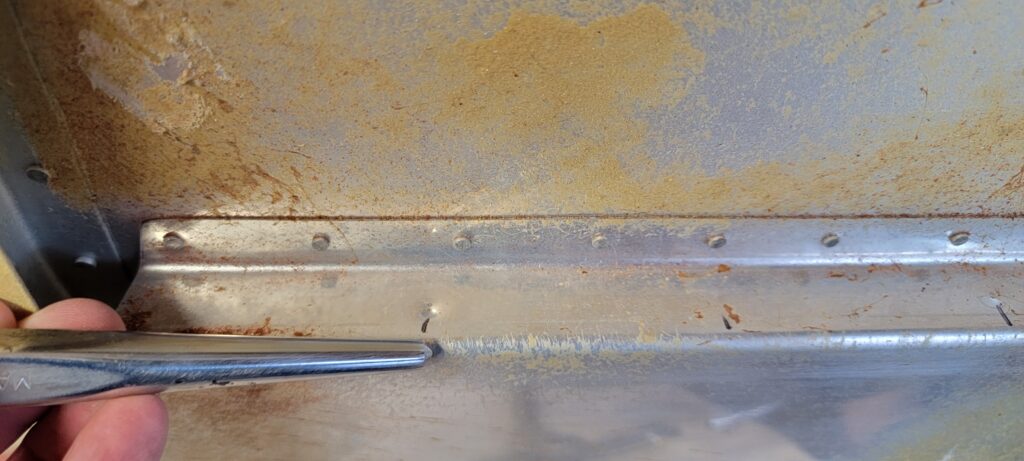
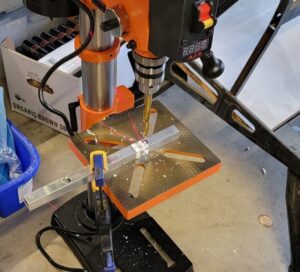
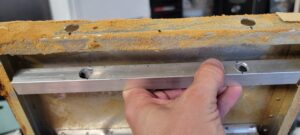
- I cut a section of the square tubing just shorter than the inside edge of the seat and drilled out two ½” holes 6” apart. If you make it just a little shorter than the width of the seat you have some room to adjust side to side to line it up with the holes in the seat. If you do not have a drill press for this step, I strongly encourage you to find access to one. Drilling ½” holes in ¾” square tubing will be difficult without a press. I used a round file to make the holes slightly oversized, so the tubes slide into the holes easily.
- Cut four sections of the round tubing long enough that they go from top of the seat and extend down into the middle panel. I used the round file to clean up the burrs off the inside edges of the tubing. The headrest needs to slide in and out so they need a clean inside edge.
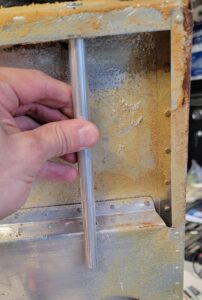
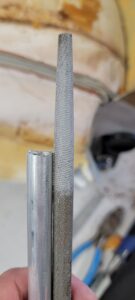
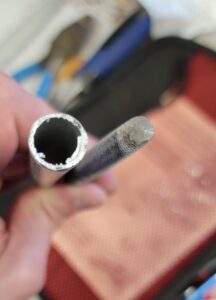
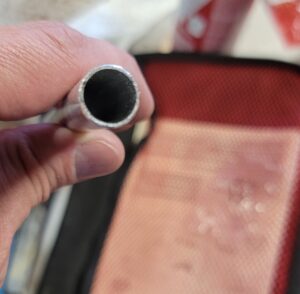
- Place the grommets in the holes at the top of the seat. These will help add friction as you slide the headrest in and out. Also, unless you are perfect in your measurements, there will be some friction from the sides of the headrest posts in the tubes as they are only 0.03” bigger than the headrest posts.
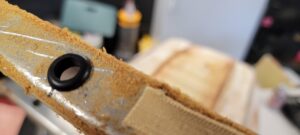
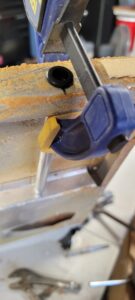
- Slide the square tube up against the bottom of the grommets and line up the holes. A clamp is nice to hold it in place. Then slide the round tubes from the bottom up through the holes in the mid-panel and into the holes in the square tubing, snugging them up against the bottom of the grommet. Again, a clamp to hold it in place is helpful. Drill pilot holes through the seat frame and close side of the square tube on each end and secure it to the frame with the sheet metal screws. Then drill pilot holes through the seat frame and the close side of each metal tube at the bottom of the tube and secure those with a sheet metal screw.
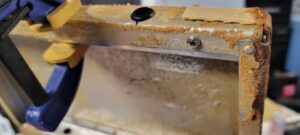
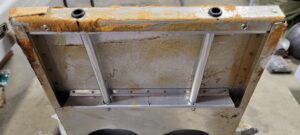
After making sure the headrests fit, remove the headrests and position the top of the seat cover over the seat and mark the center of each post hole. I then used a razor knife to cut small holes, just big enough for the headrest posts. My plane has fake leather seat covers so I don’t have the concern of fabric unraveling. I also have sheepskin seat covers over those which hide the holes. I’m just waiting on the sheepskin covers for the headrests.